

Heirlooms, hybrids each have advantages, disadvantages
By Jodi Bay
The vegetable garden planted a few months ago is growing well and producing tasty fruits and vegetables. Would you like to grow these exact edibles again next year? Consider saving seeds from your harvest. Here is how to get started.
The first step in seed saving is knowing if the plant from which seeds are to be harvested is an heirloom or hybrid.
Heirloom varieties have been in cultivation at least 50 years and are open-pollinated (pollinated by insects, wind or other forms of natural pollination), rather than reproduced by a controlled process. Heirloom varieties are genetically very similar to those of previous generations. They are valued for their unique characteristics but may not be genetically resistant to certain diseases or as productive as hybrid varieties.
Hybrid varieties have been purposefully crossed with the intent of creating plants with specific characteristics. Plants from the resulting seed are often more vigorous with desirable traits such as disease resistance, more productivity or dwarf/compact growth. Seeds started from hybrid plants may not breed true — that is, some offspring will be different from the parent.
The most successful reproducing vegetable varieties comes from seed saved from heirloom plants, as they have the same characteristics as those grown generations ago. Cross-pollination between different heirloom varieties can create a fruit or vegetable not true to type. To produce seed reflective of the parent, plant only one variety of vegetable within the plants’ pollination range.
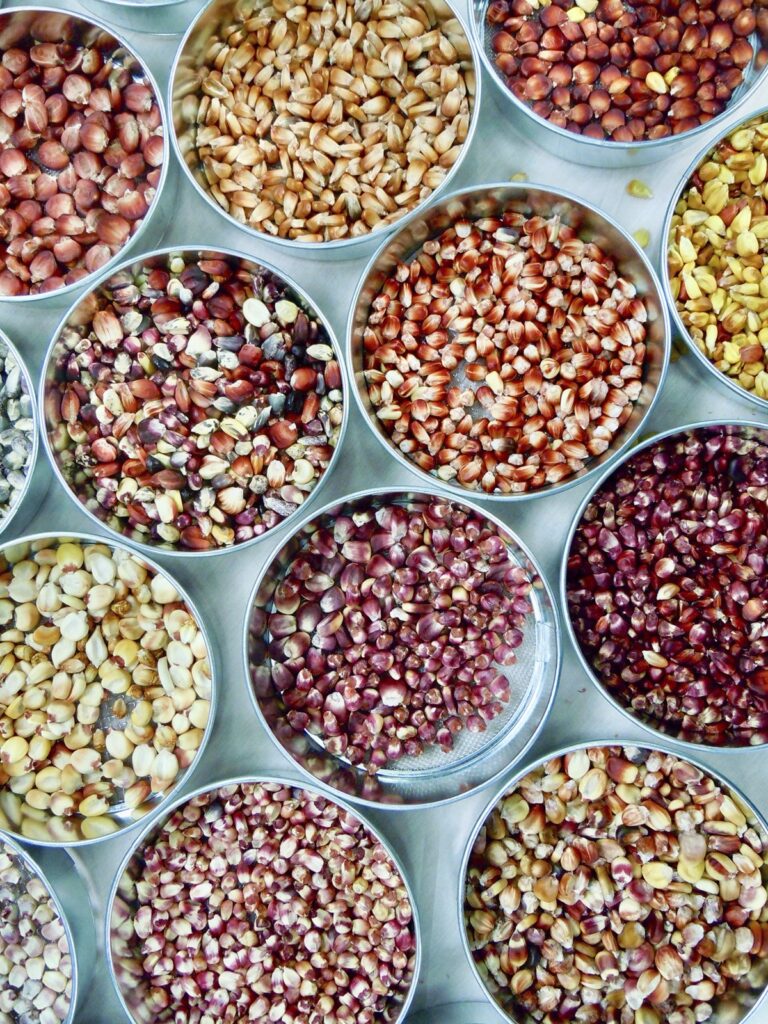
Begin saving seeds from easy and reliable types like peppers, melons and winter squash. The seeds from these vegetables are ready to save when the produce is ripe and ready to eat. Start by selecting the best example of that fruit or vegetable. This will help ensure that the seeds are healthy. In many cases you can carefully cut open the produce and then, scoop out the seeds. Fresh seed must dry thoroughly before they can be stored. Place clean, fresh seed on a ceramic or glass plate in a dry, well-ventilated, non-humid, shaded place. When the seeds break rather than bend, they are ready for storage.
Saving tomato seeds is easy but has a few more steps. Tomato seeds have a gel covering that must be removed and is best done by fermentation. Fermenting the seeds removes the gel, reduces some seed-borne diseases, and eliminates a germination inhibitor.
To do this, collect the seeds by cutting a ripe tomato in half and scooping out the seeds. Place them into a bowl, jar or glass. Label the bowl with the name of the tomato variety i.e. Cherokee Purple. Add 1/4 to 1/2 cup of water and set the bowl aside, away from the sun for three to five days. A moldy film will likely form atop the liquid. This is expected.
Next, to separate the seeds, first remove the film, add more water and stir. The good seeds will sink. Pour off the water and debris; repeat this step until the debris is gone and the seeds are clean. Spread onto a screen or paper plate to dry. Do not use a paper towel or ceramic plate. The seeds will stick to a paper towel and not dry thoroughly on a ceramic plate. Once dry, use the storage method described below.
Beans are another vegetable with seeds that are easy to save. Let the pods dry on the plant until they are brown and begin to open. Harvest the pods, with bean seeds still inside, and let dry for another two weeks. Shell the beans and store in an airtight container until next planting season. Refrigerator storage for dried beans in an airtight container is recommended to prevent the development of bean weevil larvae that can damage the seed.
Saving seeds from cucumbers and summer squash is more advanced. These vegetables must ripen beyond the normal, ready-to-eat stage so that viable seeds have time to develop. Allow these vegetables to over-ripen until they are discolored but not rotted. Cut the vegetable open and scoop the seeds into a bowl. Discard the remaining flesh. Cucumber seeds have a coating that must be removed. Rub the seeds inside a sieve while washing and then soak in water for two days. Rinse and dry.
Once seeds are completely dry, i.e. break not bend, put them into an airtight container and store in a cool, dry and dark location. A refrigerator is a good place to store dried seed, but allow the seeds to return to room temperature before opening the container. This will prevent moist air from condensing on the seed or container. A small packet of silica gel placed with the seeds will absorb moisture and help keep the seed dry.
Bay has been a UCCE Master Gardener since 2012. She specializes in teaching new gardeners how to grow their own food in a home or community garden. Get live gardening advice on the Master Gardeners’ hotline, (858) 822-6910, from 9 a.m. to 3 p.m. on weekdays.