

In-Ground Worm Bins
By Liz Schmitt
Building an in-ground worm home is one of the many simple, effective ways to compost kitchen scraps directly in your garden beds. By creating a submerged "worm portal," you allow composting worms to process waste while enriching the surrounding soil with nutrients.
B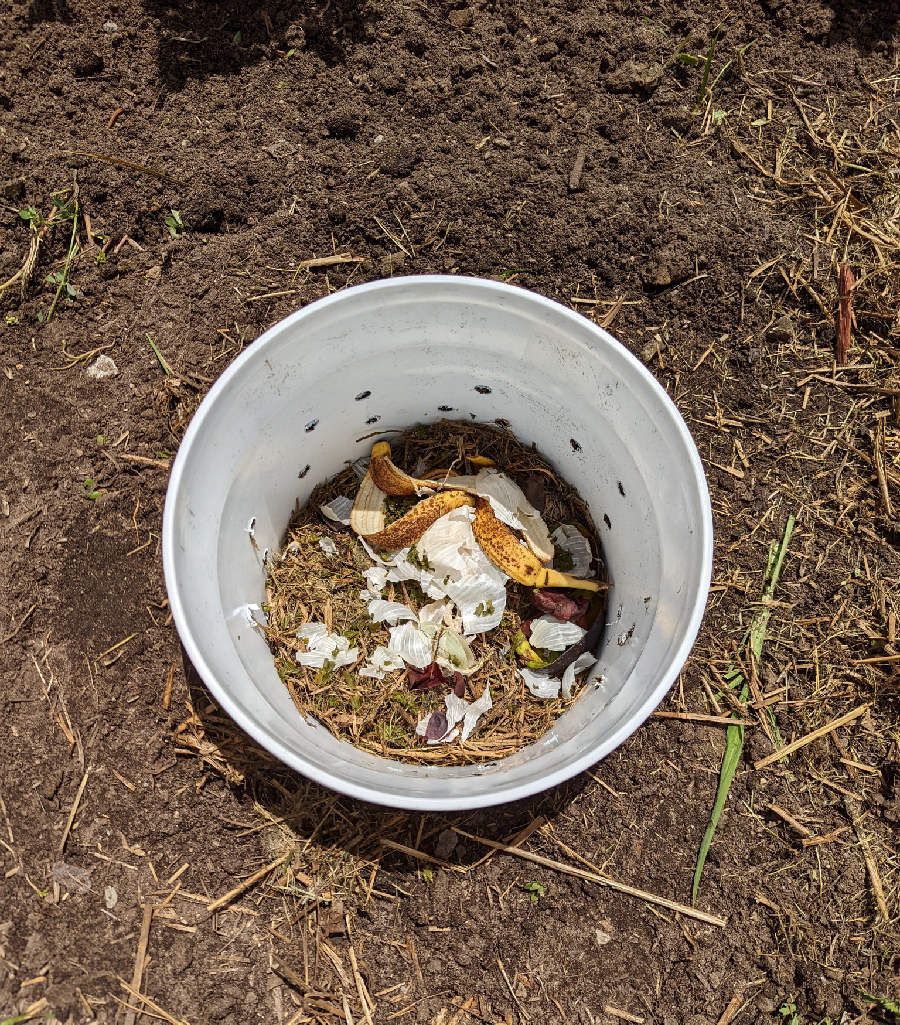 uild the Container
- Select a Container: Use a dark, opaque plastic bucket or storage tote with a tight-fitting lid to keep the worms in a preferred dark environment.
- Drill Migration & Drainage Holes: Use a 1/4" to 1/2" drill bit to create holes in the bottom and sides. These allow worms to move between the bin and your garden soil.
- Add Ventilation: Drill smaller 1/16" or 1/8" holes near the top rim and in the lid to ensure adequate airflow without letting in large pests.
Installation and Setup
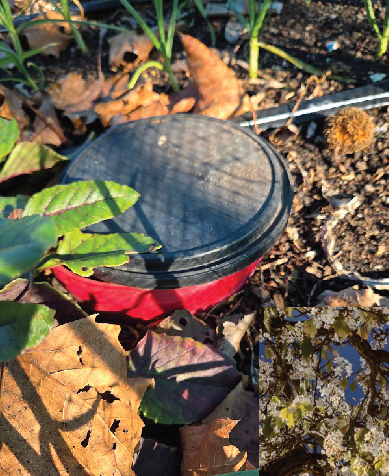
- Bury the Bin: Dig a hole in your garden bed and bury the container until only the top 1-2 inches (and the lid) are above the soil line.
- Prepare Bedding: Fill the bottom third with "browns" like shredded cardboard, dried leaves, or damp newspaper to provide a safe habitat and moisture.
- Introduce Worms: If your garden soil doesn't already have them, add a handful of red wiggler worms — these are the most efficient variety for composting.
 Feeding and Maintenance
- Worm-Friendly Foods: Add fruit and vegetable scraps, coffee grounds, and crushed eggshells.
- Tip: Chop food into small pieces to help the worms (and the microbes they eat) process it faster.
- Foods to Avoid: Do not add meat, dairy, oily foods, citrus, onions, or garlic, as these can cause odors or harm the worms.
- Harvesting Castings: Once the bin is half-full of dark, crumbly "black gold," you can scoop out the castings to use as fertilizer.
How do you welcome and leverage the gardening benefits of our squirmy worm friends?
Photo Credits - Liz Schmitt
Liz Schmitt has been a San Diego Master Gardener since 2016.
Pingback: terbinafine dosage for nail fungus
Pingback: terbinafine adverse reactions
Pingback: ivermectin mechanism dermatology
Pingback: sildenafil stomach content interaction